
The Pull Test: the Cure to Loops on the Underside of Fabric
Troubleshooting 101
The Pull Test: the Cure to Loops on the Underside of Fabric
The pull test is one of the most important sewing machine troubleshooting exercises, because it’s a common cure for large looping on the underside of the fabric.
When my dad first taught me how to fix machines, I did not fully comprehend the importance of the pull test. Nowadays, I consider it an essential part of basic sewing machine troubleshooting. No matter what machine you own or what kind of sewing you do, keep this nugget of information in your back pocket. You may not need it often, but I assure you that someday it will come in handy, especially if you sew a lot.

Cause of the Problem
Two forces pull the knot up
Large loops on the underside of the fabric are a very common issue for sewists of all types, no matter the machine, no matter the project. Why does it happen?
A sewing machine makes a stitch using two sources of thread: the bobbin thread and the upper thread. A stitch is essentially a knot, and that knot is formed in the bobbin case area below the needle plate, when the needle does a dance with the hook mechanism. You can see how a stitch is formed in this incredible video:
How a stitch forms below the needle plate.
The knot is initially formed below the needle plate, but it ends up sitting between the layers of fabric. How does it get up there? There are two forces at play:
- The upstroke of your take-up lever.
- Your top tension.
If your take-up lever is threaded properly and your upper tension dial is set at the correct value (between 3 and 6), but you’re still getting loops on the underside of your fabric, your machine most likely has a zero-tension condition. Those loops are the top thread being pulled down to the bottom of the fabric. An entire seam can be sewn like this without you noticing, leaving a long row of poor-quality stitches that must be pulled out.
Diagnosis and Fix
Rethread with the foot raised
If you get these loops, the first step is to rethread your machine, and to do it with the presser foot raised. When the presser foot is raised, the upper tension discs release (they separate), which lets the thread slide between them. If you thread the machine with the presser foot down, the tension discs are closed together, and the thread will sit on top of the discs instead of between them. That is guaranteed to create zero tension and cause those nasty loops.

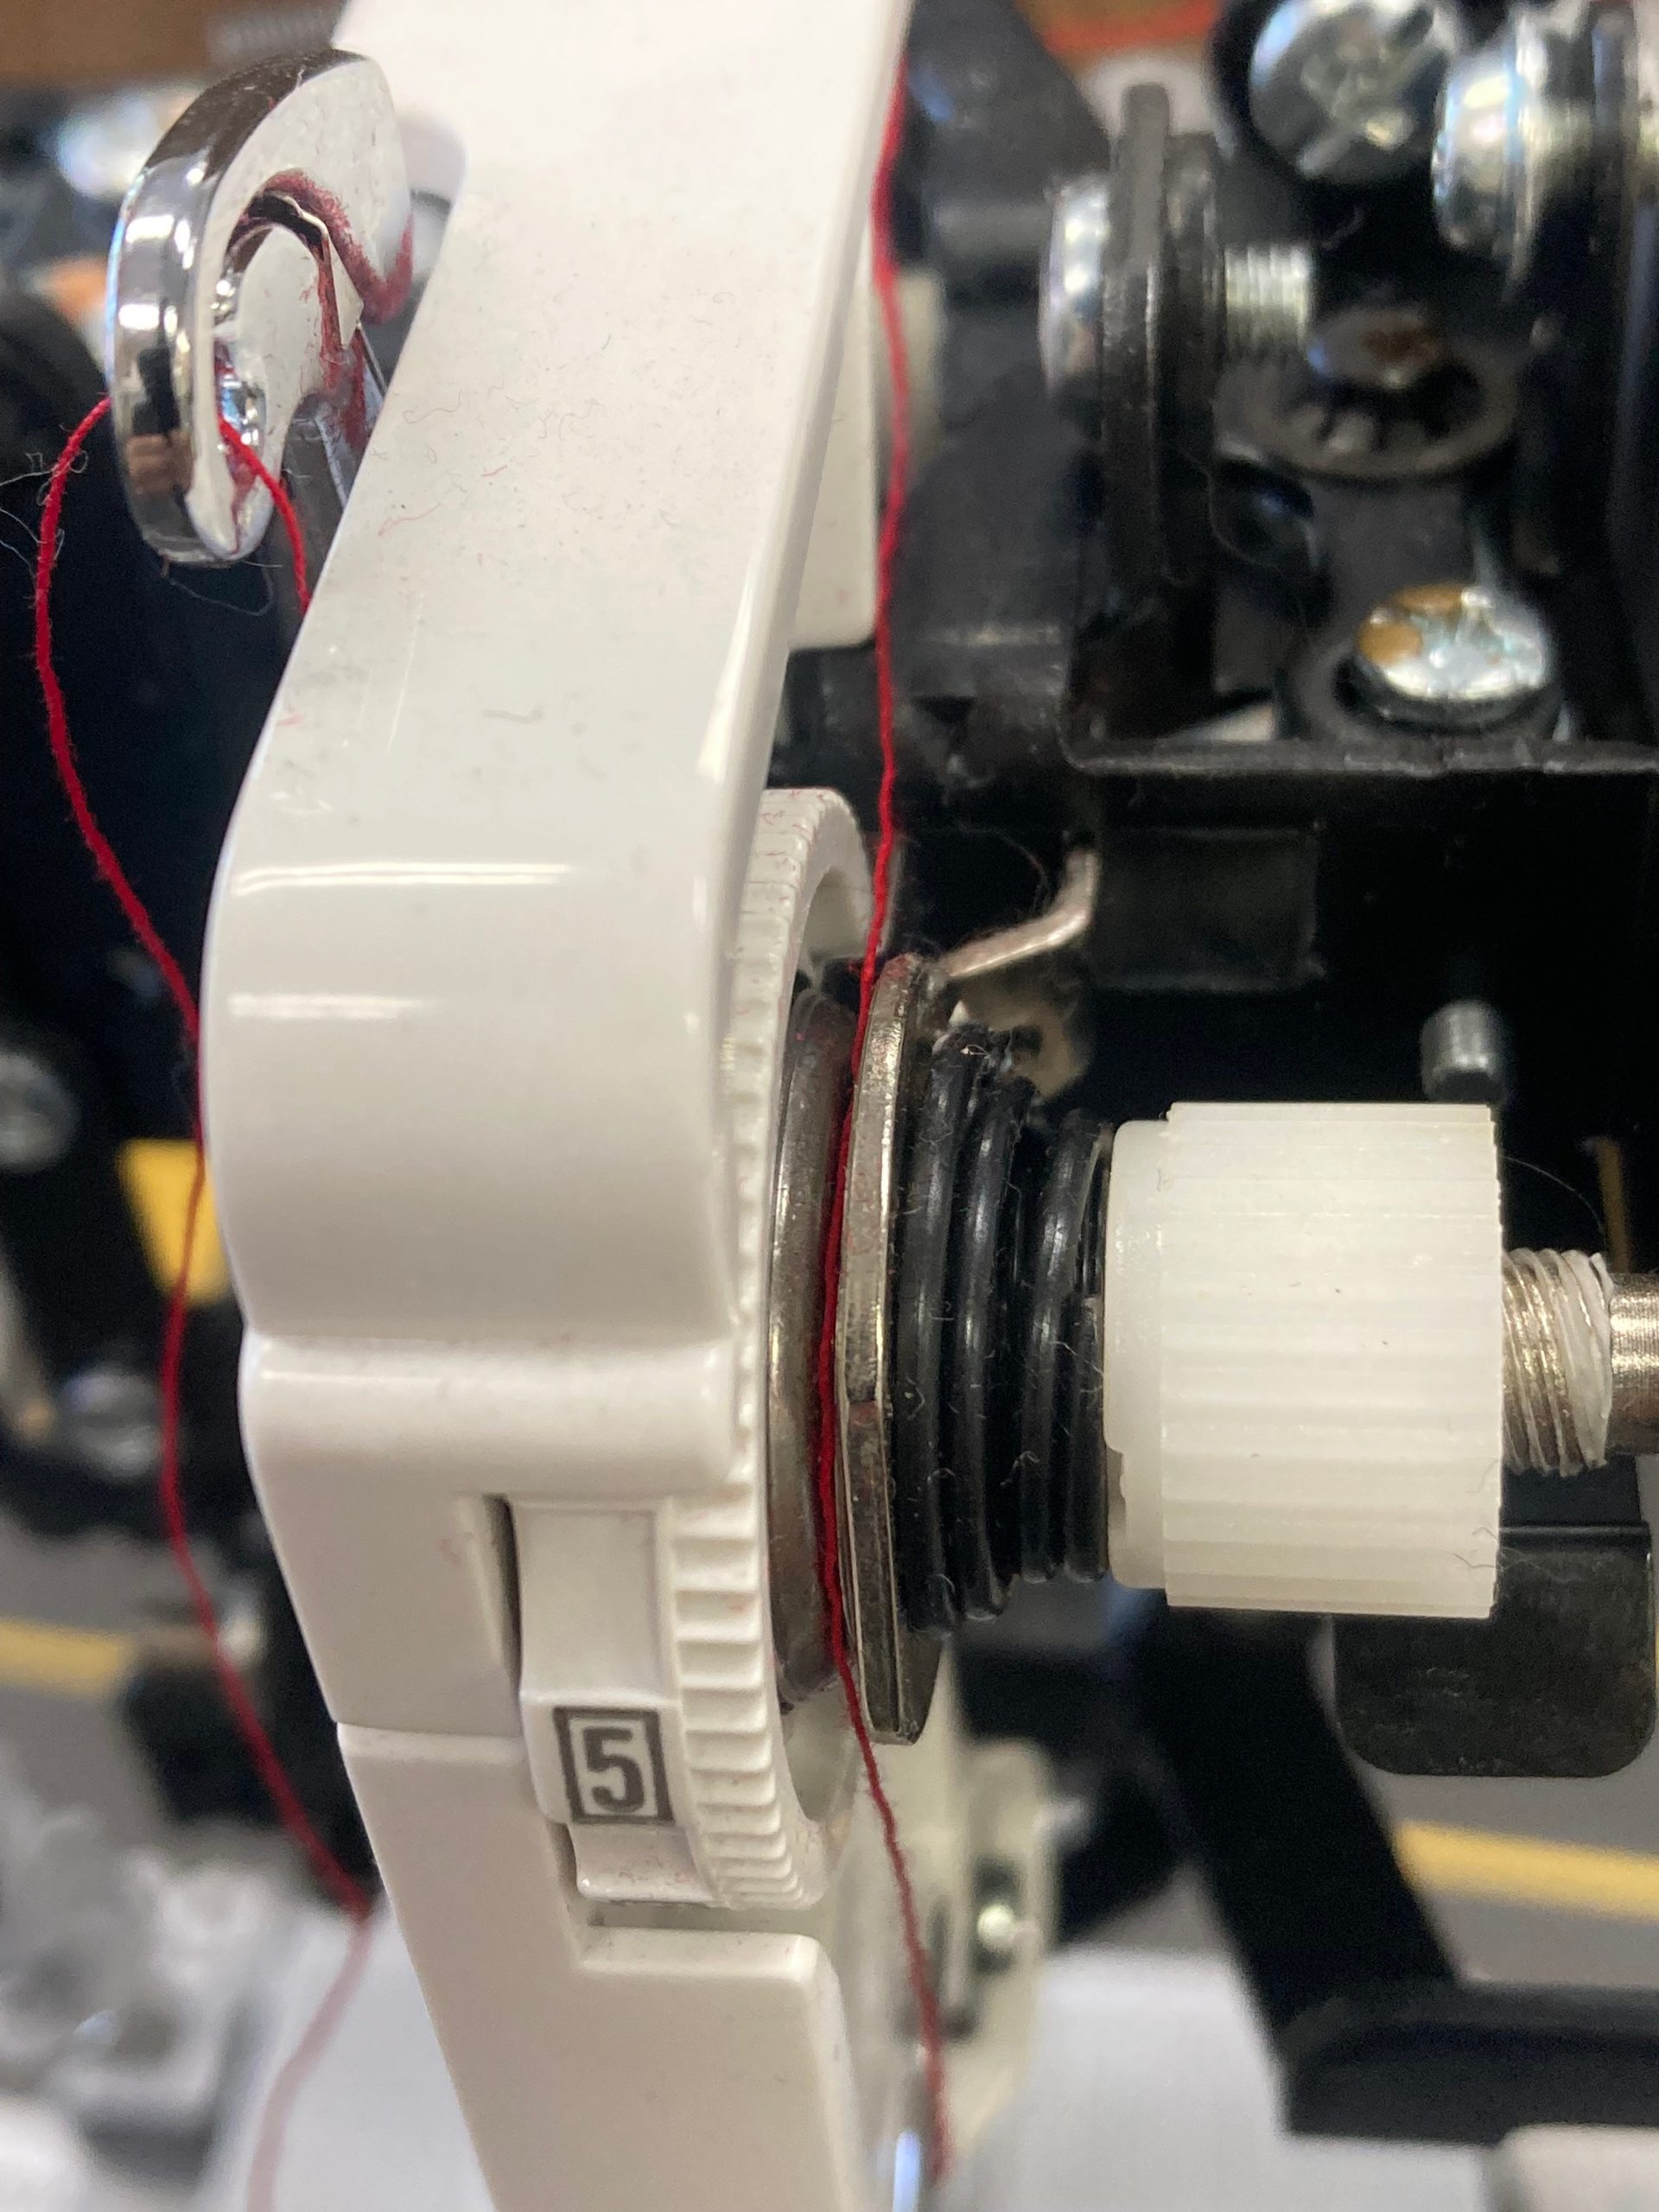
What if we thread the machine with the presser foot raised, get the thread between the tension discs, and still get loops on the underside? Then it’s time for a simple test for zero-tension condition, something my dad dubbed the pull test.
The Pull Test
Five steps · about a minute
- Thread your machine correctly (don’t forget the take-up lever eyelet).
- Do not thread the eye of the needle yet.
- With the presser foot still raised, pull on your thread. You should feel very little or no resistance.
- Lower the presser foot and pull the thread again. You should feel significant drag on the thread.
- Now thread the needle and sew. Those loops should be gone, and you’re on your way.
If the upper thread still has no tension when you lower the foot and pull (step 4), and your dial is at the correct value (between 3 and 6), you have a problem. Often there’s shredded thread or lint between your tension discs keeping them from closing. To fix it yourself, raise the presser foot (so the tension discs separate) and blow canned air between the discs to blast out any compacted lint. If you see shredded or tangled thread caught between the discs, remove it with tweezers.
The pull test, demonstrated.
If there’s no lint or thread between the tension discs and you still have a zero-tension condition with the presser foot lowered, your machine’s tension release mechanism may be malfunctioning. Fortunately, that’s an easy repair for a trained technician.
Cleaning the tension discsHow to Clean a Sewing Machine
Summary
- Loops on the underside of the fabric indicate your top thread is in a zero-tension condition.
- Machines release the tension discs when the foot is raised and clamp the thread when it’s lowered, so always thread with the presser foot raised and the tension dial at the machine’s designated value (usually 3–6).
- The pull test: thread the machine (not the needle), pull with the foot raised (little or no resistance), then pull with the foot lowered (significant drag).
Also part of the skipped stitches flow chartSkipped Stitches Troubleshooting Flow Chart
Still looping after the pull test?
Our technicians can fix the tension release
It’s a quick repair at our Walnut Creek service department.
More troubleshooting
