
How to Replace a Sewing Machine Needle
Technician Tips
How to Replace a Sewing Machine Needle: Tips from a Technician
Improper needle insertion can cause all sorts of problems. Here are the three keys to getting it right.
If you’re wondering which needle to use for your project, see Sewing Machine Needles Explained. Here I simply want to cover proper needle insertion.
1. Flat to the Back
Round side toward you
Look at the base end of a home sewing machine needle and you’ll notice one side is round and the other is flat.


On the vast majority of home sewing machines, you must insert the needle with the flat side facing the back of the machine. Another way to think of it: the flat side faces away from you and the round side faces toward you. Either way, flat to the back.
Notable exceptions
Singer Featherweight: the flat faces the left.
Portable semi-industrial straight-stitch machines: the flat faces the right, because these machines have side-loading bobbins. That includes the Juki TL-2010 and TL-18, Janome HD9 and 1600P, Bernette B08, Brother Nouvelle, Baby Lock Accomplish, Pfaff Grand Quilter, and Viking MegaQuilter.

Why does the direction matter?
When a sewing machine makes a stitch, a thread loop forms behind the eye of the needle as the needle begins to rise from its lowest position. As that loop forms, the machine’s hook passes behind the needle, just above the eye, and catches the loop.
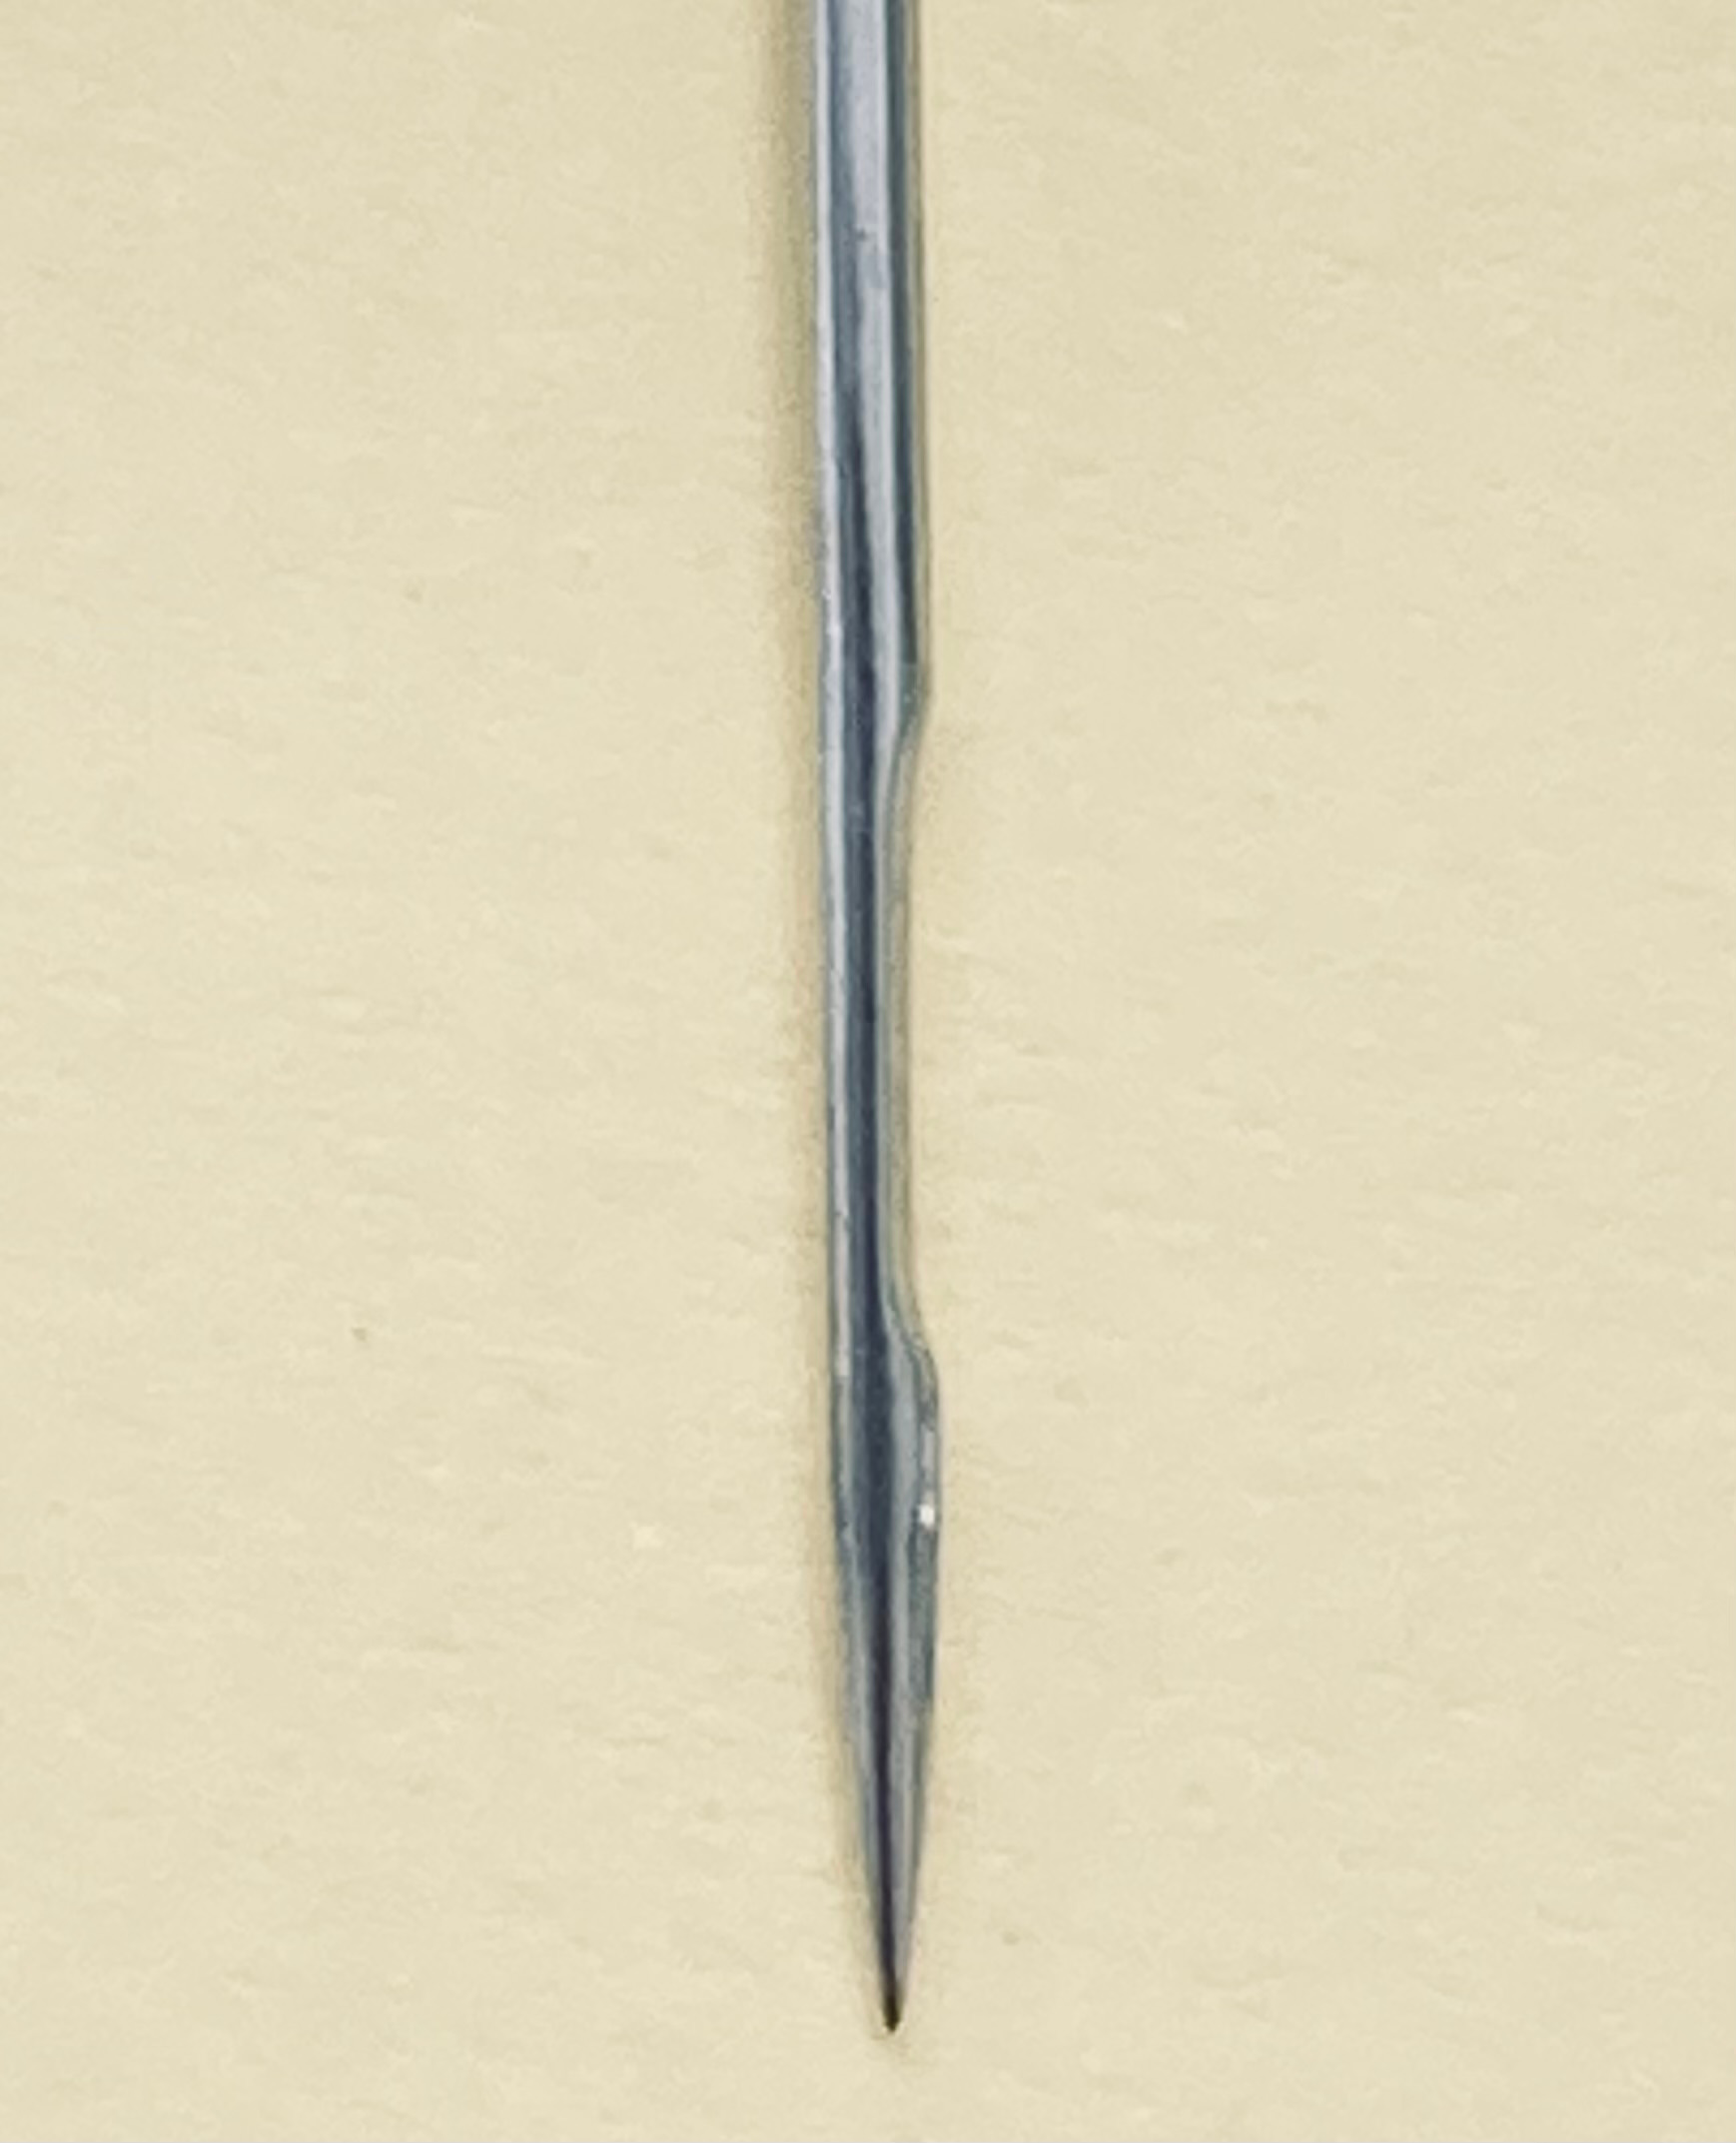
There’s a cut-out, or scarf, on the back of the needle above the eye. Inserting the needle flat to the back orients it so the hook passes behind that cut-out. That’s crucial, because the cut-out enlarges the thread loop, which increases the chance the hook catches it and decreases the likelihood of skipped stitches.
If the needle goes in the wrong way, with the flat facing the front or sides, the likely result is skipped stitches. Without the scarf behind it, the loop forms against the vertical shaft and gets distorted, and it’s much harder for the hook to pass through a distorted loop than a proper oval one.
2. Slide the Needle Up All the Way
Until it hits the pin
When you insert the needle into the needle clamp, it’s crucial to slide it all the way up before tightening the set screw. As the photo shows, there’s a pin inside the needle bar. The needle must slide all the way up until it hits that pin.

Not sliding the needle all the way up is a relatively common mistake. It will cause skipped stitches, because a needle that sits too low simulates faulty needle-hook timing. It can also cause needle strikes on the hook mechanism, which, if bad enough, require replacement parts.
3. Don’t Over-Tighten the Needle Screw
An eighth of a turn, a quarter at most
With the flat facing the back and the needle slid all the way up to the pin, tighten the needle screw to secure it.
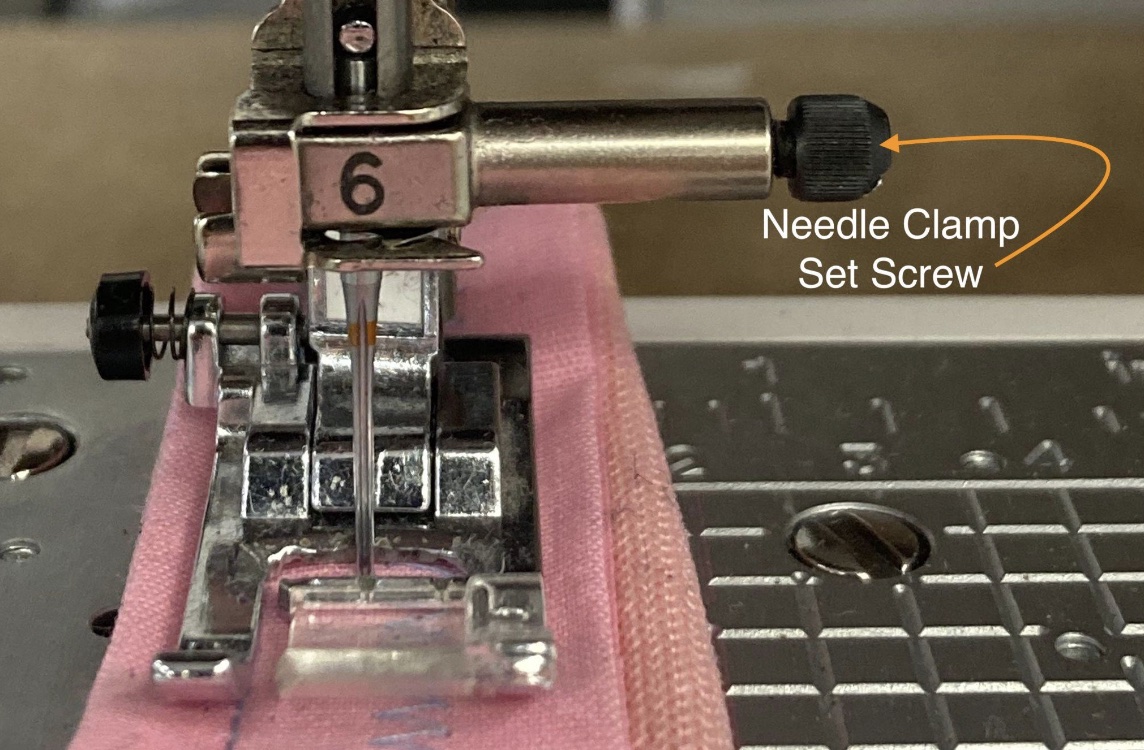
The needle screw can be tightened with your fingers, but because there isn’t much room in the needle area, it’s often designed to take a screwdriver too.
It’s absolutely critical not to over-tighten the needle clamp screw. It’s a set screw: when tightened, it pushes against the surface of the needle, and that pressure holds the needle in place. It only needs to be tight enough to pin the needle. Anything more is unnecessary and can harm the machine.
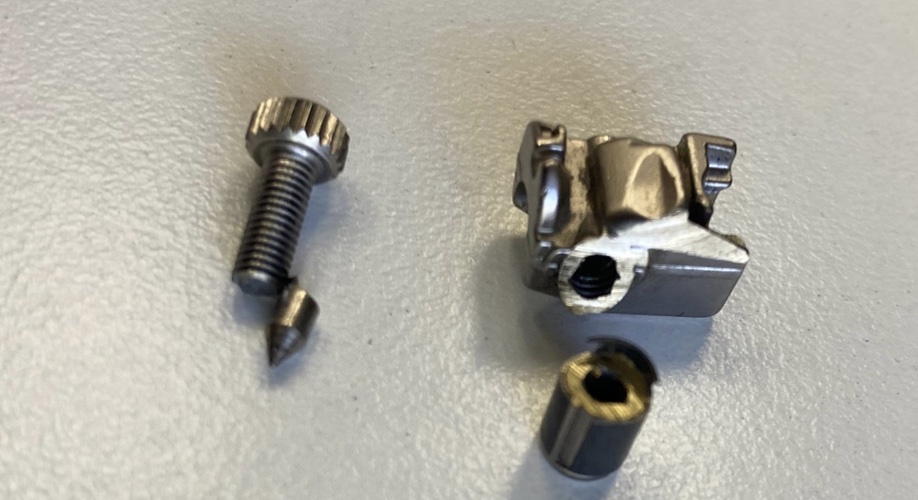
The photo above shows a needle clamp and set screw. The screw was over-tightened and its tip broke off inside the clamp, so a technician had to saw off the clamp to remove it. Both clamp and screw then had to be replaced. The owner was actually lucky the screw broke. We’ve seen over-tightened screws that don’t break and instead distort the needle bar, which then has to be replaced. That’s a massive, labor-intensive job for a technician and a costly mistake for the owner (we’re talking hundreds of dollars).
Tighten with your fingers. If it needs more, give it an eighth of a turn with the screwdriver, a quarter turn at most.
Summary: how to replace a sewing machine needle
- On the vast majority of home sewing machines, insert the needle with the flat side facing the back.
- Slide the needle all the way up to the pin before tightening the set screw.
- Never over-tighten the needle clamp screw.
Fresh needles & the right screwdriver


Also part of the skipped stitches flow chartSkipped Stitches Troubleshooting Flow Chart
More troubleshooting
