
How to Wind a Bobbin
Technician Tips
How to Wind a Bobbin: Tips from a Trained Technician
If you want to learn how to wind a bobbin, there’s one key rule to remember: the thread being wound onto the bobbin must be under adequate tension.
How do we achieve adequate tension? We make sure the thread is sandwiched firmly between the bobbin winder tensioner discs.
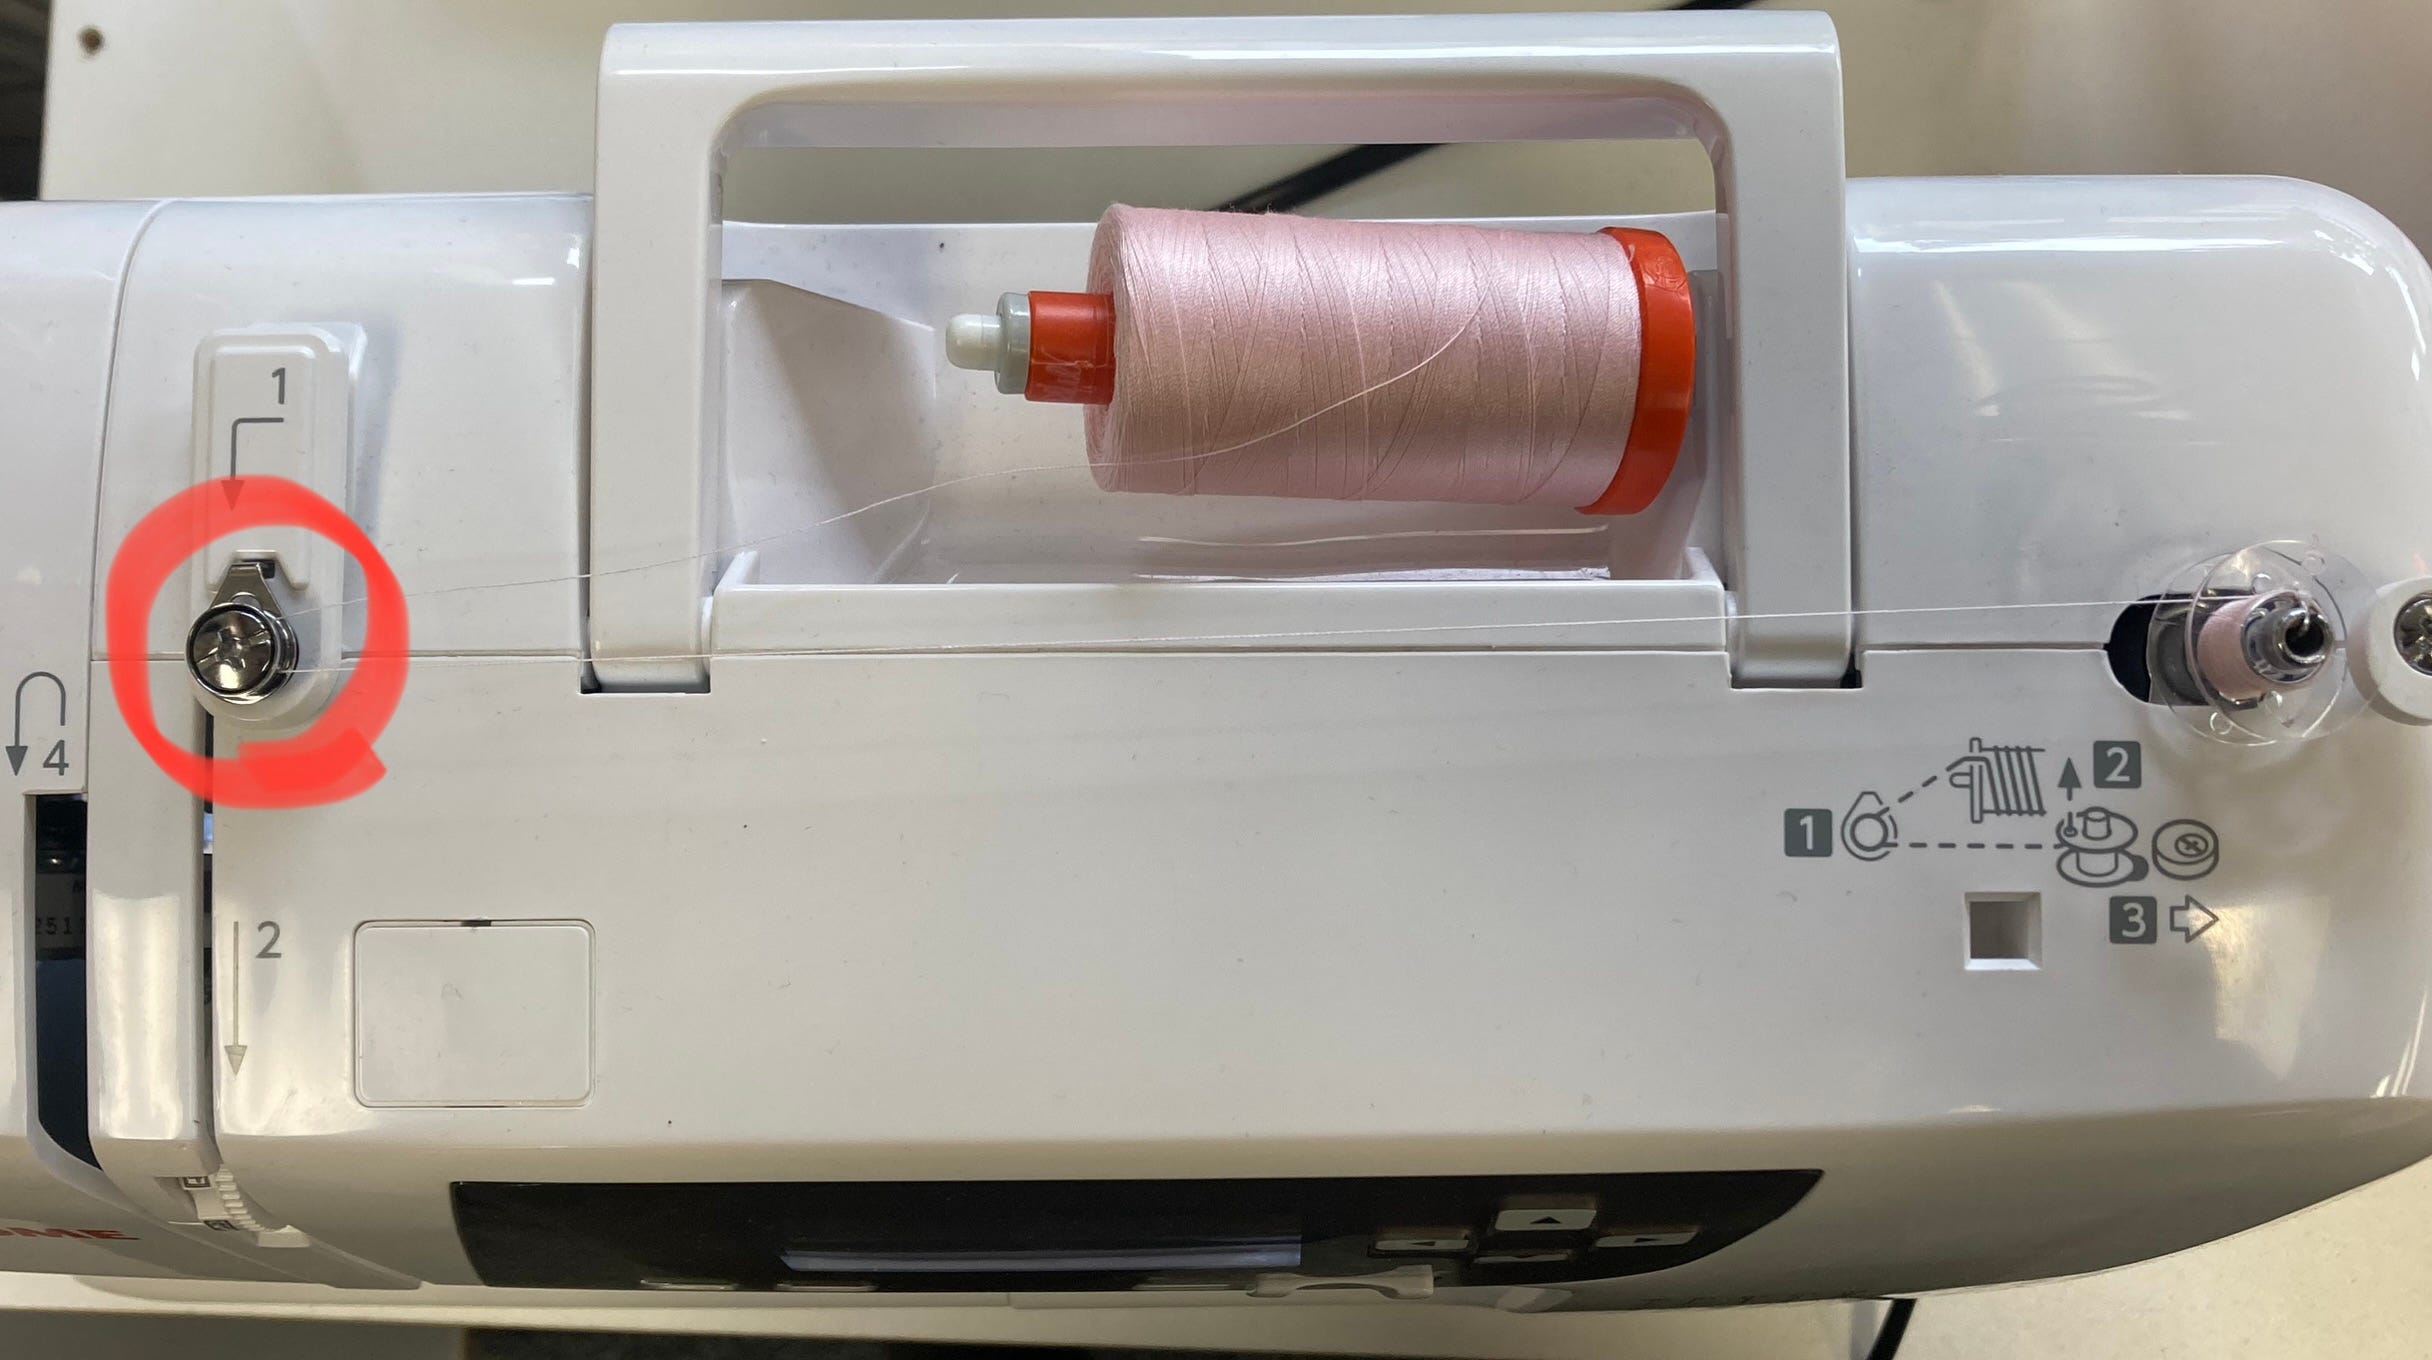
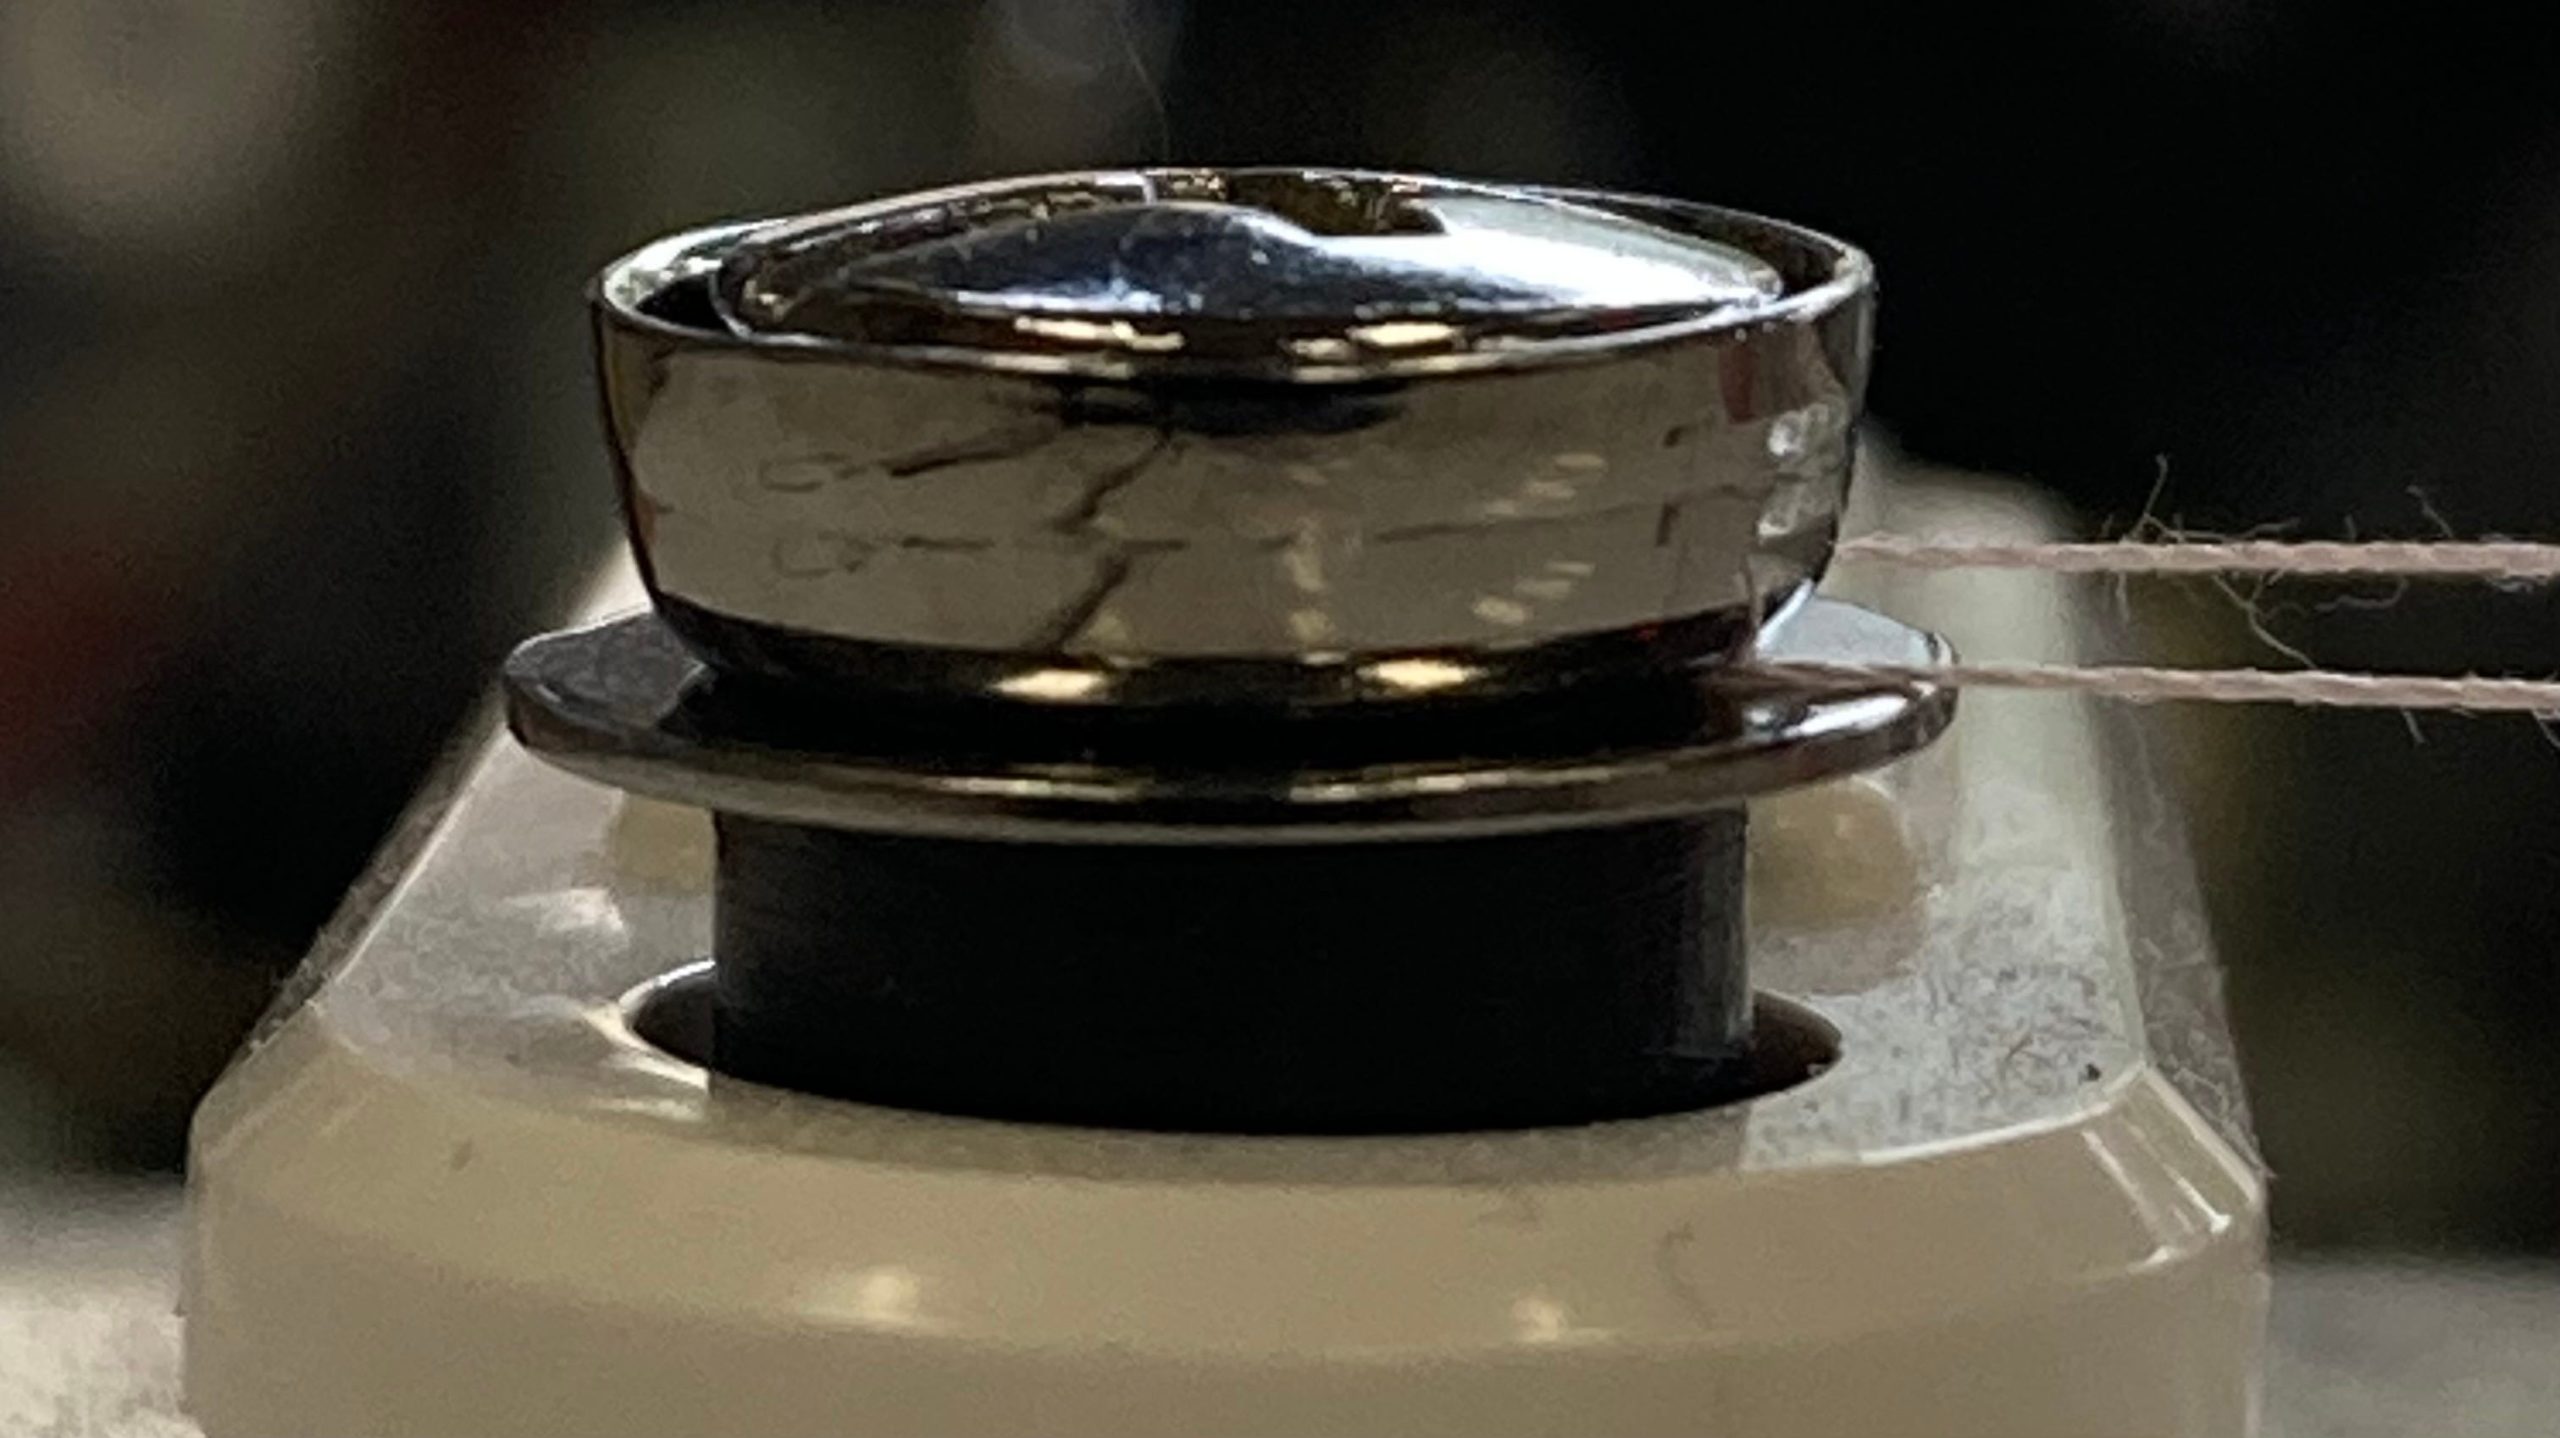
This is where the battle is won or lost. Get the thread firmly between these tensioner discs and there’s a great chance you’ll wind a tight, even bobbin. Fail to get tension on the thread, and the bobbin is guaranteed to wind loose and uneven, which is no good.

How Do I Make Sure My Bobbin Thread Is Under Adequate Tension?
Pull before you wind
After you wrap the thread through the bobbin winder tensioner discs, lightly pull on the thread before bringing it to the bobbin. Do you feel a little tension? If yes, go ahead and wind. If not, try these two techniques:
1. Floss the thread
Wrap the thread around the tensioner as before. Keep holding the thread in one hand; with the other, firmly pinch the thread coming off the spool between your thumb and index finger. Now floss the thread back and forth into the tensioner discs, just like flossing your teeth. This should seat the thread firmly between the discs.
Flossing the thread into the tensioner discs.
2. Go 360 degrees
Your machine’s instruction manual (and maybe the machine itself) shows how the thread should go around the bobbin winder tensioner, typically wrapping 180 or 270 degrees. Most of the time, following that diagram and flossing the thread gives you adequate tension. If you’ve done both and still feel no tension, wrap the thread around the tensioner discs a second time, a full 360 degrees. That should give you enough tension to wind the bobbin.
Why Is a Loose, Sloppy Bobbin Bad?
The thread that’s “up next”
There’s a portion of bobbin thread that’s “up next”: the next bit that will be used to make a stitch. On a tight, even bobbin, that thread flows freely as it takes part in the stitch-making process. On a sloppy bobbin, the “up next” thread may be buried under other loose wraps, so it has to pull through the thread on top of it. That acts as an obstruction and can lead to stitch quality problems or thread jams.
You want the thread to flow from the bobbin without obstruction. A loose, sloppy bobbin is an obstruction, so remember the key: the thread being wound onto the bobbin must be under adequate tension from the bobbin winder tensioner discs.
One more note
I don’t recommend winding multiple threads onto a single bobbin. It causes the same problems as a loose, sloppy bobbin.
Read the full articleThe Importance of an Unobstructed Thread Path
Summary: how to wind a bobbin
- The thread being wound onto the bobbin must be under adequate tension.
- Adequate tension comes from the thread being firmly sandwiched between the bobbin winder tensioner discs.
- If the thread isn’t under tension between those discs, the bobbin will wind loose and sloppy.
- Pull to check for tension; if there isn’t any, floss the thread or wrap it a full 360 degrees.

Also part of the skipped stitches flow chartSkipped Stitches Troubleshooting Flow Chart
More troubleshooting
